Seaquester Home
Semyan.com

Teak Deck Replacement

Background

Our HR352 was built in 1984. Like almost all HRs, it came with a teak deck and over past 40 years, exposed to the elements, the deck became very weathered. There were split boards, popped bungs, and the caulking had come loose in several areas. Over time, I realized the deck was beyond saving and would need to be replaced.

Options for replacement include replacing with new teak, using a synthetic decking product (e.g. PlasTEAK), or painting. Re-decking in teak would have been very expensive and there are few sources for sustainable teak. I never liked the look of synthetic products and had heard reports of them being hot underfoot in the summer sun. The painting option is popular because of the low maintenance, but is very expensive to do well, and I really liked the look of natural wood (along with the excellent traction when wet).

At a boat show I discovered Marinedeck - a cork-based decking product made for boats from Stazzo - a company based in the Netherlands. Marinedeck is made from cork granules in a synthetic binder. Cork is a natural product, sustainably harvested, with excellent thermal and traction properties, resistant to stains, and easily maintained. It looks similar to teak and comes in plank sizes that are the same dimensions as my current deck (meaning I could use the existing deck as a template for a new deck). It was decided, and at the end of the 2022 sailing season, I started.


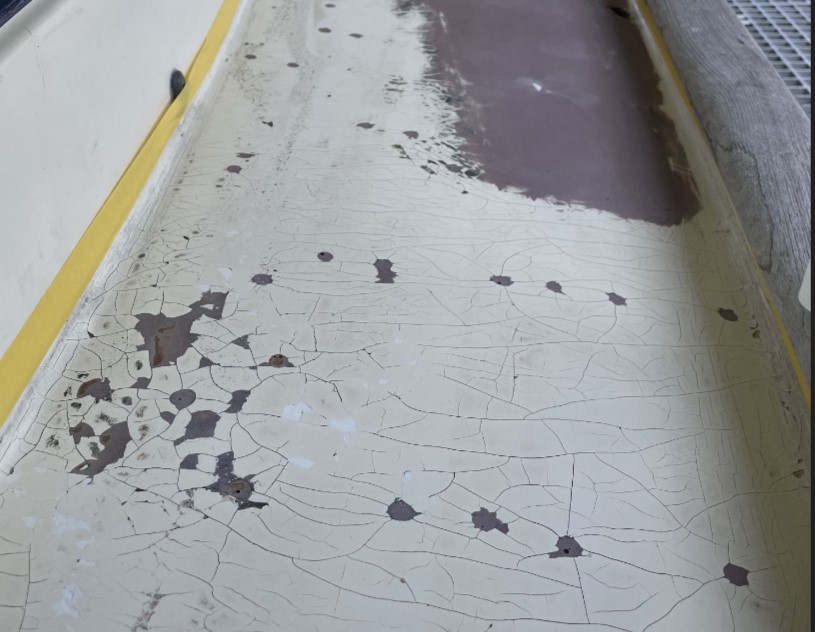
A view of the original teak deck. Note the split boards, popped bungs, and missing caulking.

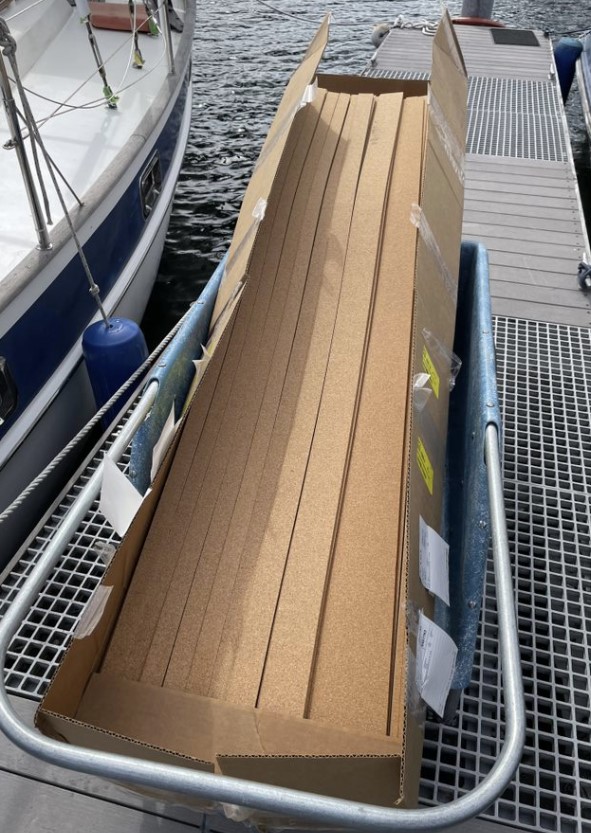
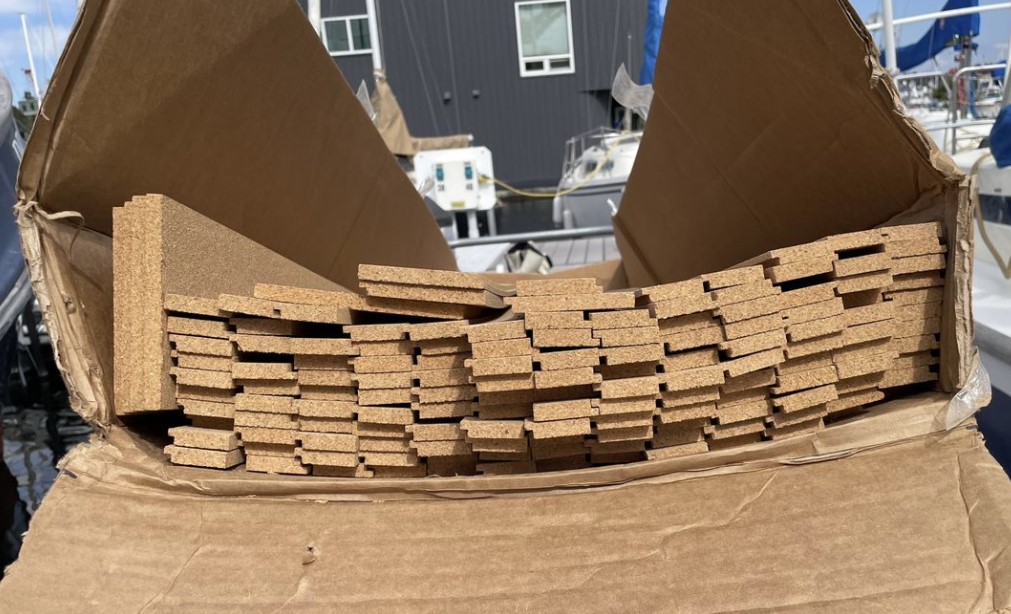
The new decking material showing it is the same width as the existing deck planks. You can also see how much deck thickness is missing on my boat.

Prepping the boat

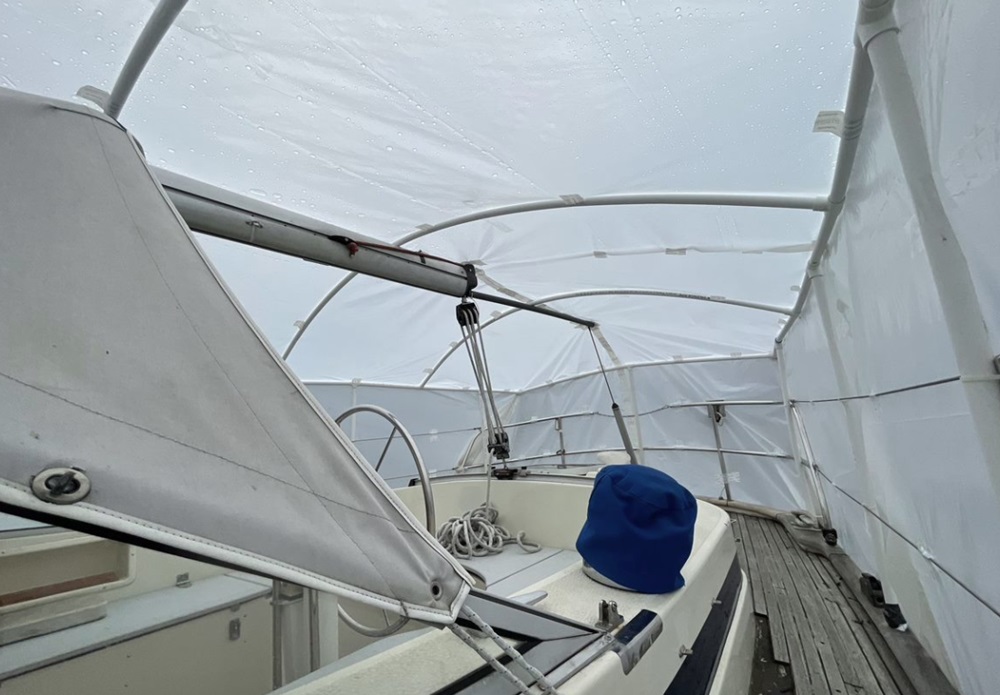
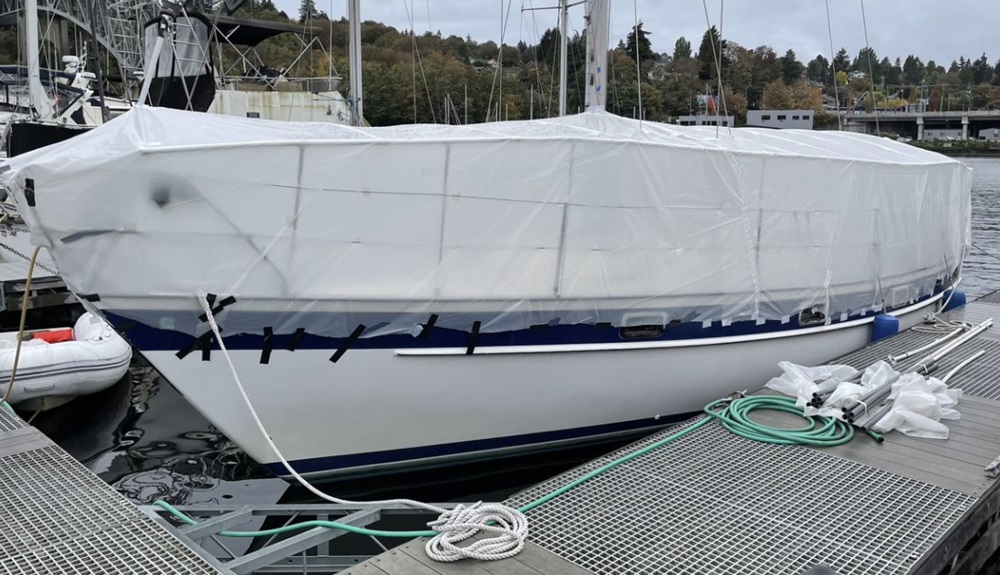
Because I started this the fall, I needed a dry place to work given our rainy winters. Rather than pay for indoor storage (expensive in the Seattle area), I built a tent over the boat using PVC pipe and medium gauge plastic sheeting. I taped it together with "Blue Dolphin Polyhanging and Seaming Tape" from Home Depot and my tent survived rain, wind, and even snow without damage. Sealed off, the interior became quite humid and so I purchased a "desiccant rotor dehumidifier" from Amazon that works even in colder temperatures, installed a drain hose over the side, and then ran the dehumidifier 24/7 while working on the deck. This kept the interior of my tent pretty dry.

Exterior view of the tent I built over the boat. This tent lasted over a year.

Interior view of the test where you can see the PVC frame.

Removal of the existing deck

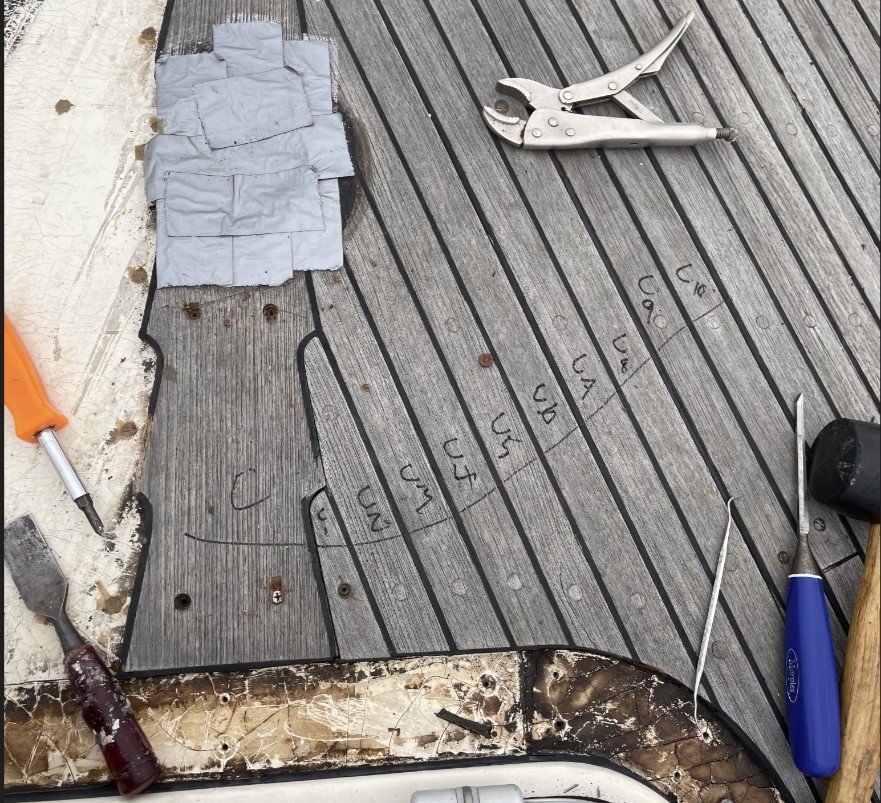
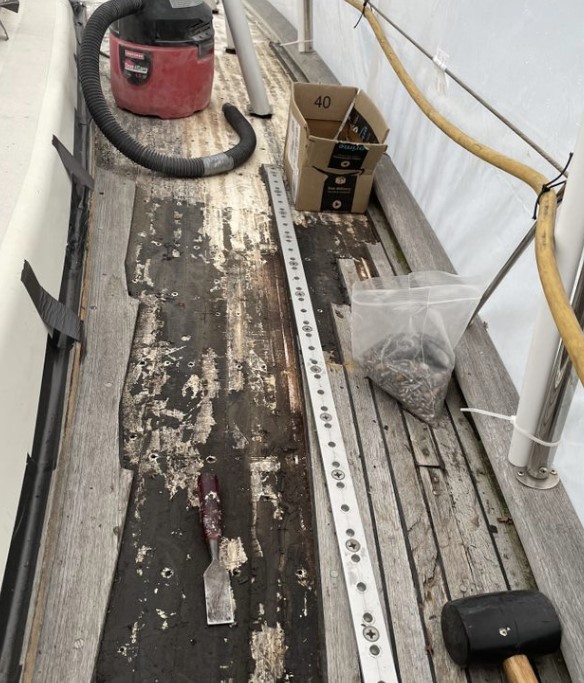
The first step was to remove the existing deck. Because I wanted to save the old deck to use as a template, I was careful to label and remove the boards as much as possible without breaking them. This ended up being mostly a waste time. In the end, I only needed the curved boards around hatches, and a sample of the king planks. I should have just used a crowbar to rip up the old deck and discarded it immediately. Instead, I carefully removed each board by backing out the screws. Once the screws were removed, the planks came up relatively easy since the deck was only glued down with a little silicon (unlike the tenacious adhesive used on later models.)

Labeling and carefully removing the old deck.

Here I am removing planks and you can see the big bag of screws I collected.

Plugging Holes

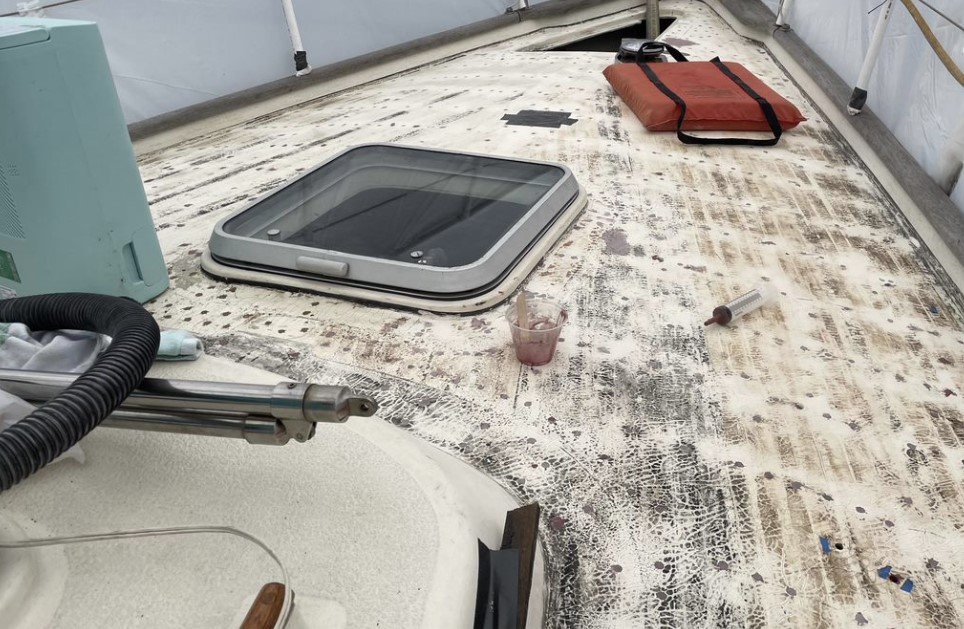
With the decking removed, I was left with perhaps 1000 screw holes in the deck. Some of the holes had wet core material inside them. My HR was cored with Divinacell - a synthetic foam. Unlike balsa, it does not rot, and leaks tend to stay isolated. Therefore, the moisture I found does not have the same concern as it would with balsa cored boats. For every screw hole, I first drilled the hole bigger (~ 1/4 inch) and then left it open to dry for a weeks or two. With the dehumidifier on, especially when the sun was out to warm the interior, the wet areas dried in a few days. Once I deemed a section of deck dry enough, I would mix some thickened epoxy and use a syringe to fill each of the holes to overflowing. I used fairing compound to thicken the epoxy so it would be easier to sand flush when it cured. As a bonus, my deck now has 1000 solid pillars to stiffen it.

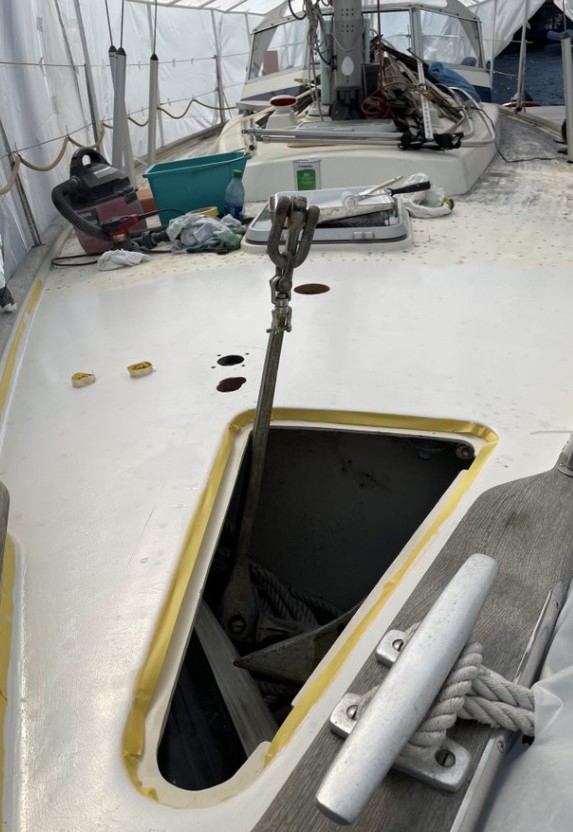
A view of the foredeck with showing the number of holes I had to fill.

Genoa Track Core Repair

One area that had more moisture than could be dried via holes was the area under the genoa track. On my boat this was cored with plywood. Over the years, this wood became saturated with water leaking in from the many bolt holes for the track. To repair this, I first cut the deck open with a small hand-held circular saw. Once open, I dug out the old wood - some of which I could squeeze water out of like a sponge. Once the area dried, I then grinded the edges back at an angle (about 1 1/2 inches - 12 times the 1/8 inch thickness of the deck) with a grinder. This was dirty, dusty work and even with a vacuum, mask, and Tyvek suit, I was itchy from fiberglass dust for a few days. I re-cored the deck with Coosa Bluewater 26 fiberglass board - glueing it in with thickened epoxy. I then rebuilt the top deck layers of mixed strand and woven fiberglass, finally fairing smooth with fairing compound.

First I cut the deck open with a circular saw to expose the wet plywood core.

With the core removed, I ground the edges back at an angle to allow for a good bond with the new fiberglass. This was very messy.

With the new core in, I started building up layers of mixed strand and woven fiberglass to rebuild the top deck.

With the repair complete, I faired the deck smooth with fairing compound.

Surface Prep

Looking back, I probably should have just ground the deck smooth with a 60-grit orbital sander and glued the new deck to the old. Instead, I painted on a coat of two-part epoxy filler (Interlux Primekote) to ensure the deck was waterproof. This meant getting the deck smooth, wiping with Interlux 202, and then mixing and rolling on the thinned, milky paint.

With the surface smooth and clean, I should have just glued the new deck on. Instead I primed.

With the two part primer on. At this point I probably could have painted if I wanted.

Ordering the new decking material

I measured and re-measured the old deck to estimate how much Marinedeck I would need to order. I intentionally underestimated so I wouldn't have too much material left over - there are no returns. Once the deck was about 75% done, I calculated how many more planks were needed to complete the deck and did a second order. I ended up with about 3 extra planks 1.5 inch width planks out of 160, so I was fairly accurate. The full list of planks I used for my HR352 are below (all planks are 75 inches long): Total before tax: $5300, shipping $375

The decking arrived in a few weeks.

Another view of the new decking material. I kept it down below to keep it dry.

Cutting the deck

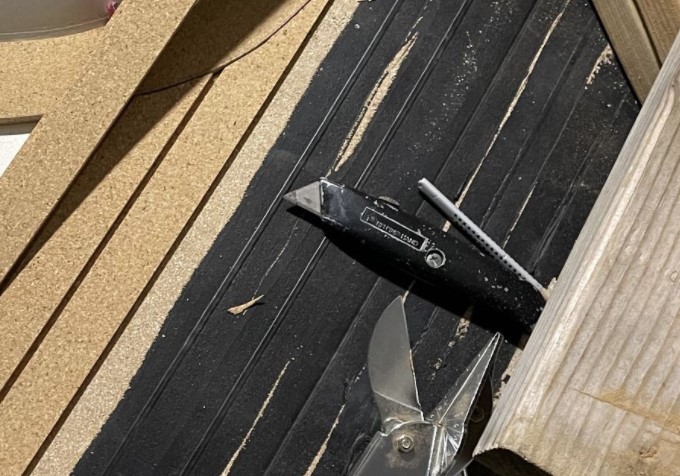
The cork decking is very easy to work with. For straight cuts I used airplane snips for short cuts and a utility knife with a straight edge for longer cuts. For curved cuts I used a saber saw with a narrow blade. To add the caulking groove to cut planks I used a router mounted in a small table. The router was also used to round the edges for exposed hatch planks, and any plank that butted up against the bulwark since it had a rounded edge. Starting from the outside edge and working my way in, layup was relatively easy. I used the pieces of the old deck and photos to plan how to lay out the complex areas around hatches, along the coach roof, and the king plank. The first boards I glued down were the curved boards around the anchor locker. Once a piece was cut out, if it was not exactly right, I could shape it easily using a handheld sander (e.g. a Fein tool). I would dry fit sections then glue them down. Having the old pieces was useful for the curved pieces around hatches, the pieces along the sides of the coach roof, and the king plank but I need not have tried to save the long, straight pieces that made up the majority of the deck.

Laying out the pieces of the old deck to plan how to lay out the new deck.

The anchor locker was the first area I laid up using the old deck as a template. Spacers are used to leave room for the caulking.

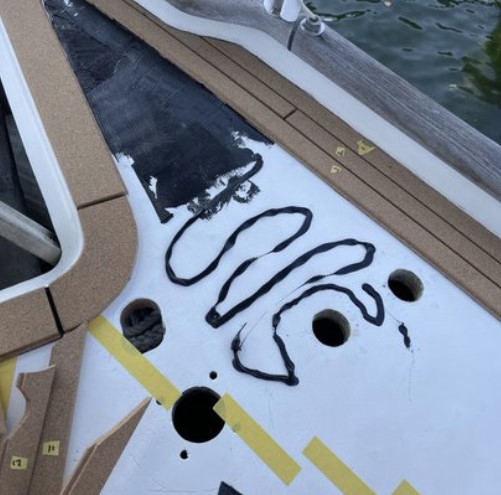
Gluing the deck

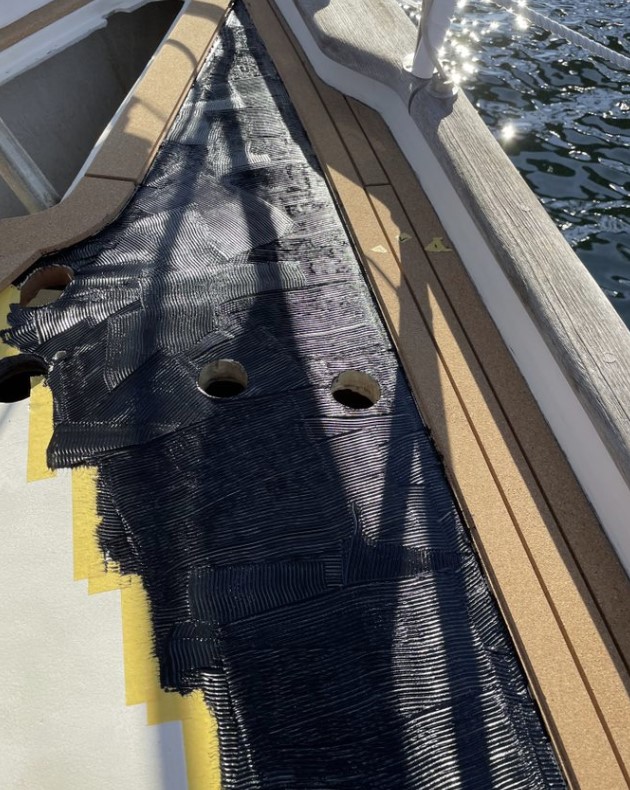
Once I had a section of the deck cut and dry fit to satisfaction, I would prep the deck by sanding it with 100 grit paper in an orbital sander, then wiping clean with acetone. I also wiped down the planks with acetone to remove any dust or oils. Then I would spread out the adhesive (Silkaflex 291) with a grooved spreader (1/8 inch grooves) and slowly press the deck down in pieces. With the deck on, I would walk over it a few times to make sure it was pressed flat, then use boards and bricks to weight it down overnight. Gluing the deck took ~12 tubes of adhesive at $20/tube.

I would do a few square feet at a time, spreading the glue with a grooved spreader.

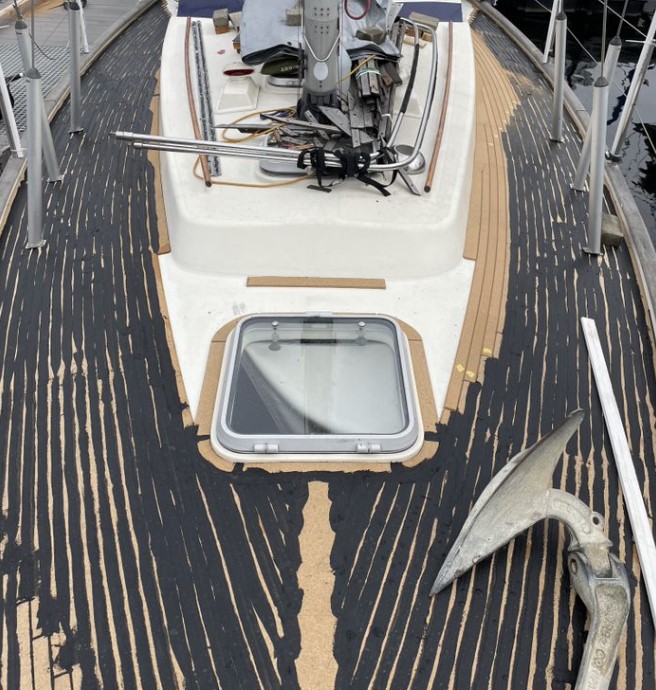
I used tape to mask off the areas where the planks stoped.

Drains

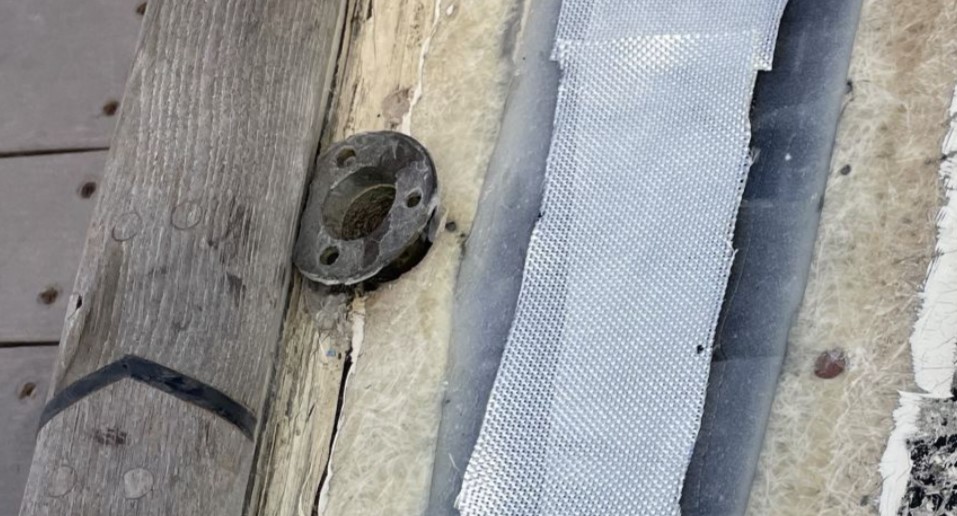
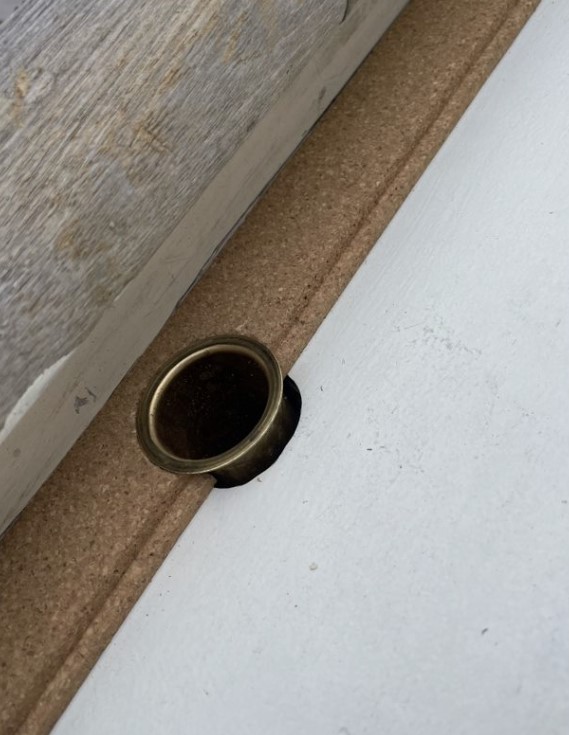
With the deck up, I took the opportunity to replace my old-style deck drains with the new model that is available from HR parts. The older drains always left water standing along the bulwark because they were not right up against the edge. With the new drains, I could place them right near the edge to drain almost all the water.

This is a look at the old drain from when I replaced the genoa track core.

New drain going in with the deck.

Filling Seams

Once I had a large enough section of deck down, I would fill the seams using Teak Decking Systems' SIS 440 caulk. I had a battery powered caulk gun (very helpful) set to the lowest speed. I would fill the seam then go over it with a putty knife, pushing the material into the seam. There are Youtube videos that show this technique. If you do it right, you are left with a slightly raised deck seam. This is a messy process, and the caulk tends to go everywhere. Be careful you don't have it on your shoes when you go down below. I used approximately 30 tubes of caulk at $25/each.

Here you can see the raised seam after the caulk is applied. Use a putty knife with firm pressure.

The seams are filled and ready for sanding. So many seams...

Sanding

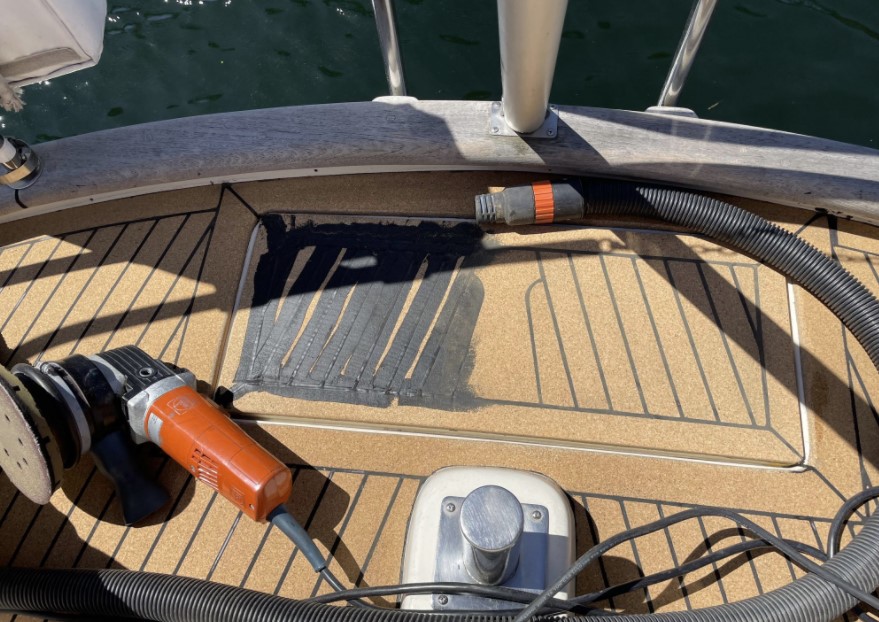
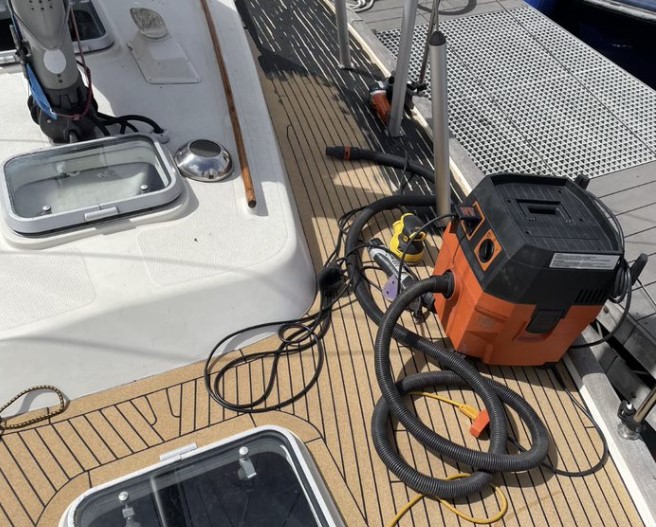
Once the caulk cures, you use a sander to remove the excess caulk and make the deck level. This ended up being a fair amount of work. I used an 8-inch Fein sander with vacuum to remove most of the material then a 5 inch sander to finish. Some suggestions I read for making the planks easier to sand are: 1. taping the planks next to the seam then peeling the tape off soon after filling, and 2. Filling the seam to overflowing but not pressing the material down with a knife. I think pressing the material is important to ensure it fully fills the seams. Although taping would add a lot of time to the seam filling, I think I would opt for that if I did this over again. The sanding was laborious and with tape you would have to remove much less material.

Sanding the deck with an 8-inch Fein sander. This was a lot of work.

Having good equipment helps. The fein sander with vacuum was very useful.

Final Thoughts

The total cost for materials for this project including the cover, prep materials, epoxy, and planks was ~$8K. This project took me about 18 months to complete working a few hours at a time when I could find it. Companies that do this work professionally make templates of the deck and then construct the new deck in a facility that has access to CNC routers plenty of dry space to work. I would guess a new deck made this way would have been ~$20k for my boat not including the time to remove the old deck and prep it for the new one. When I started this project, I had no idea it would take so long. If I were to do it over again, I probably would just pay to have it done. For anyone interested in taking this on yourself, here are my top tips:
  1. Take photos of the entire deck before removing anything
  2. Rip up the deck without regards to saving anything. It will go much faster, and you can use a crowbar, etc.
  3. Drill open all the screw holes then leave the deck to dry (either in the sun in a hot climate, inside, or under a cover with a heater and dehumidifier)
  4. After filling open holes once dry with epoxy, just grind the deck in prep for gluing, don’t bother priming
  5. Consider using a square pattern around hatches and for the king plank as straight cuts are much easier and faster than curved cuts. Decks on more modern HRs use this technique
  6. You can glue large sections at a time, excessive weights on top are likely not needed once the deck has been fully pressed down
  7. When caulking, either tape, or just fill the joint without pressing the caulk down. Trim excess with a knife and then sand until the deck is smooth
Caveats aside, the deck looks great and there are no more leaks below. The cork is soft underfoot and very grippy when wet. It fades a bit in the sun but I expect it to be troublefree for as long as I own this boat.

The finished deck. I am very happy with the results.

Note how the planks on the hatch line up with the planks on the deck.

View of the side deck. No more wet core under the genoa track and no more leaks below.

The cork is soft underfoot and very grippy when wet.

Goodbye old teak.
Seaquester Home

Copyright 2024
Scott Semyan